
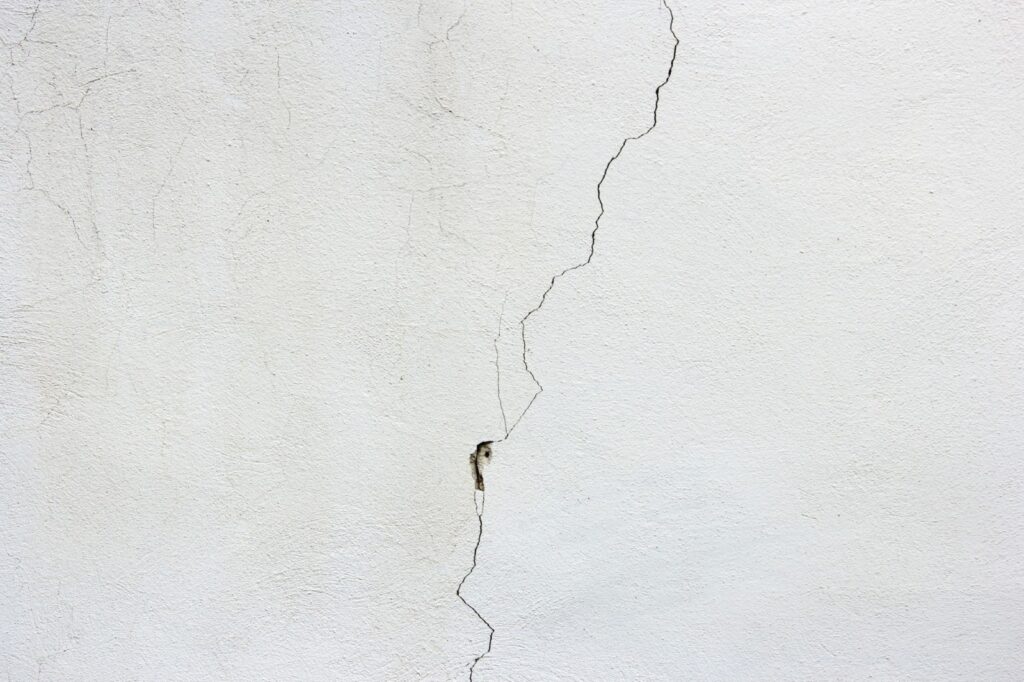
Even the most well-built homes aren’t immune to drywall cracks. They can occur due to numerous reasons, such as natural settling of the house, humidity changes, or even accidental damage.
Simple Hacks When Repairing Drywall Cracks
However, with some essential tools, a bit of patience, and the following simple hacks, you can easily repair these unsightly blemishes without getting the help of the drywall repair service.
Hack 1: Use a Utility Knife
The first step in repairing a drywall crack might seem counterintuitive – you’ll need to make the crack bigger. With a utility knife, widen the crack into a V-shape. This allows the compound to fill the crack more effectively. Be sure to remove any loose debris before moving to the next step.
Hack 2: Use Mesh Tape
Apply a layer of self-adhesive mesh tape over the crack. The mesh serves as a scaffold upon which the joint compound can be held. It’s also flexible, allowing it to handle house settling better than rigid materials. Make sure to extend the tape about an inch beyond the crack at both ends.
Hack 3: Apply Joint Compound
Use a drywall knife to spread joint compound over the mesh tape, feathering it out along the wall to blend with the surface. It’s better to apply several thin layers than one thick one, allowing each layer to dry completely before adding the next. This step might take a couple of days, but patience is key to achieving a smooth finish.
Hack 4: Sand Smoothly
Once the final layer of joint compound is completely dry, it’s time to sand. Use a sanding sponge or fine-grit sandpaper to gently smooth out the repair. The goal is to make the patched area flush with the rest of the wall, so be careful not to over-sand and create a divot. Wipe away any dust with a damp cloth before proceeding.
Hack 5: Prime Before Painting
Don’t rush to paint over your repair work. Firstly, apply a layer of primer to the area. This ensures the paint adheres properly and helps to hide the repair beneath. Once the primer is dry, you’re ready to apply paint that matches your wall.
Hack 6: Use a Paint Roller
When painting over the repair, feather the paint out beyond the primed area with a roller. This will help the fresh paint blend seamlessly with the existing wall.
Hack 7: Keep Your Materials
After finishing your repair, you might be tempted to discard any leftover joint compound or mesh tape, especially if you don’t foresee any additional repair work. However, keeping these materials can be handy. Drywall cracks have a nasty habit of reappearing, and having the materials readily available can save time and money on future repairs.
Conclusion: Simple Hacks When Repairing Drywall Cracks
Repairing drywall cracks is a manageable task that can restore your wall’s pristine appearance. The key to success lies in preparation, patience, and following these simple hacks. Remember to take your time with each step and don’t rush the process. Proper drywall repair is more about the journey than the destination, and the satisfaction of a job well done is worth the effort.
Recent Comments